Tuesday, January 28, 2014

Wait, I actually worked on the Galliano jacket? Really?

Yea, I'm not sure what came over me here. Last night I was looking for some project, something I wouldn't have to think too much about because I wasn't feeling too well, and somehow I ended up working on the Galliano pirate jacket (pattern available here).

In case you're not familiar with this pattern, it's super crazy and has way too many pieces, and no instructions (not that I often follow instructions). I think I would have been less likely to work on it had it included instructions actually, mainly because at this point I'm not doing anything properly and just winging it. It's not going to really be the Galliano pirate jacket at the end, but hopefully it'll be some free-form wearable thing that I put a bunch of strange effort into.

My first post about this project is here. It's pretty much a quick blurb about cutting out the pattern. I did start the jacket back during the summer (May or June, something like that), and I thought I had posted about it but apparently not. Here's a photo from then for reference:


I'm using a solid red and a fine red/white stripe. The solid has stretch, which is not helpful at all in this case, and the stripe likes to shred where cut... also a fun time!

Back to the present: I pretty much stopped paying attention to how this jacket is supposed to work and am just making it work. Last night I cut out and pieced together a lining using white denim (yay no interfacing) and some of the red (yay interfacing). I've also attached the lining strategically and left other edges open (pinned in the photos). These will be bound with black twill tape. There will also be lots of twill tape straps and corresponding hardware probably... hopefully... someday...


Above is the lining side. Below you can see what it now looks like from the outside.


The most annoying part of this is the gaping at the upper back. This doesn't really go away no matter how I fiddle with the pieces. I'm thinking I'll add some elastic on that edge (to match the as-of-now non-existent gathered shoulder strap) but I don't know if that will look silly. Then again, this already looks ridiculous enough that it might not matter. Looking at the photos it's also gaping at the lower back, but I don't recall that being a big problem when I try the jacket on myself, so maybe it's just a dress-form issue.

Well there it is, relatively together! It'll probably sit around in a pile for a couple months again until a sudden bout of "what am I going to do tonight," but we'll see.

Wednesday, January 22, 2014

I wanted to make a dress the other day...

... so I made a skirt. Woops. This always happens. When I feel too intimidated for a serious project I just make a skirt. I have a pile of skirts that I haven't even worn out yet, and it keeps growing because of this.

Anyways, I've had this cupcake fabric for a while and haven't wanted to cut into it because it's super cute and I only have a limited quantity. I don't think I could buy it again if I wanted to (like I said, I got it maybe a year ago, and it was at a discount store). Well, maybe, if I was willing to spend a lot more than I originally paid.

I have made another cupcake skirt before (seen here), so this might be a little redundant, but I knew it was the most fool-proof use of the fabric (meaning, I probably wouldn't mess this up and cry). A dress would have been super cute, but my track record with bodices isn't the best and that's discouraging. Yes, yes, I would make a mockup, I always do, but there's still always some weird problem that pops up.

I didn't really use a pattern for this, but it is based on a skirt I own (store-bought). This original skirt is a bit short for wearing without tights/leggings so the biggest change I made to my version is the length. It also has a clever (read:cheap) solution to making multiple layers of ruffles. There's one layer with a short ruffle sewn to the hem, and one layer with curved edges over that one to give an illusion of having three layers. This saves fabric and is a bit easier than doing three separate ruffles.

Here's the original skirt:


and mine:


I didn't have an elastic as wide as the original one so I did two channels of a narrower elastic instead.
If you look at the inside you can see what I mean about the layers:


Worn without and with a small petticoat:


Everything worked pretty much as I expected, but there is something weird that happened with this project. I made the bow first. Usually I finish stuff and then it sits forever yearning for bows... not this time! Currently it's on a pin back. I may sew it on (ahaha, right) because that would make it more stable and less floppy but eh... Here it is in all it's glory!


Thursday, January 2, 2014

...so I made a bunch of shirts

I've been wanting to make some phat pants for the Etsy store ever since several people asked me why I didn't have any. This project requires drafting some patterns and figuring out design details that are a bit intimidating, and require a ton of motivation that doesn't come easily.

I did suddenly get some motivation the other day though, so I made some shirts!

This shirt wasn't my size but I liked the fabric so I bought it anyways, thinking I'd eventually figure out something to do with it.


I ended up using the sleeves for one shirt and the top half of the original shirt for a crop top. I still have some pieces left over for whenever I think of something else to make. The body of the first shirt and binding on the other is some plain knit I had laying around.


The first time I did the binding on the armholes it came out too tight, so I had to re-do it. I also found out this fabric runs, which is kind of annoying but there isn't much I can do about it.


I liked how this top came out so I made another out of a jersey Hello Kitty sheet I've had for a while (and also used for the dress in my previous post). The top uses the same dress as the previous post for a pattern as well.


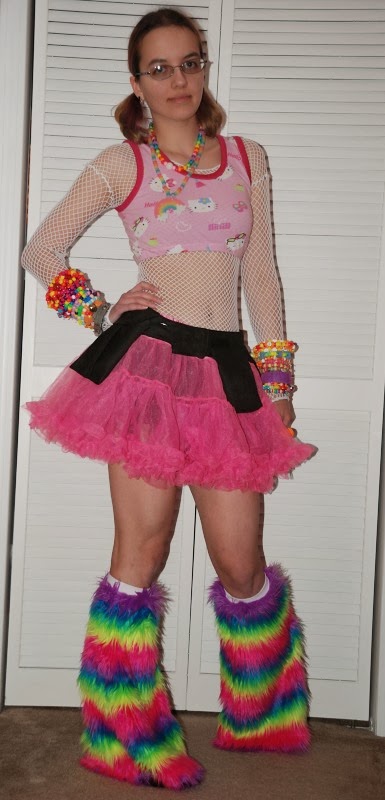
I made this on New Year's Eve and wore it out that night (because I just make new outfits when I can't think of what to wear...) The utility belt is also new and you can read more about it here.


My New Year's Eve was pretty ridiculous (but some fun was definitely had, along with some not so fun), and I hope you all had a good time! Happy New Year!

Wednesday, January 1, 2014

Just a quick comfy dress

As the title says, this is just a quick dress I made out of a jersey knit Hello Kitty sheet I had laying around waiting for inspiration. Although this pattern is simple, I wanted something easy to wear around the house (or even to bed) because the fabric feels very comfortable.


I cut the bottom part as one panel (across the bottom of the sheet so I didn't even have to hem it) and put in one pocket on the resulting seam. For the top I traced a knit dress I have that fits well (that I also used for the rainbow dress a couple months ago) and bound the edges with strips of knit fabric. I added some elastic at the waist to keep the bottom from stretching the top out of shape. Done, super easy.

I'm actually a superhero

You know, Gosia Gal? I'm sure you've heard of her. She has the powers of... um... finding things? Yea, I'm pretty good at finding things (or remembering where they are I guess).

Anyways, this post is actually about my new utility belt! Some friends were talking about belts with pockets aka utility belts and well, I made one because that's what happens.

It's far from perfect, but considering this was a first try and I just sort of winged it, it's functional. I did use the yoke pattern piece from a commercial pattern for a pair of shorts to get the correct curve for the waistband piece, but other than that it was mostly going by eye for measurements.


I wore this out on New Year's Eve and found out a water bottle just fits into one of these pockets. I got lucky on that one and wish I'd considered it during construction.


The belt has a zippered pocket across the back and then the three you can see hanging down. It closes with velcro (as do all the pockets).


There is a significant problem with a belt like this that I'm not sure how to solve. It doesn't stay down when dancing. I had to safety pin it to my outfit. Even with belt loops on my skirt this would still be a problem because there's no way to get the belt through loops. I can't really think of a practical solution.

Friday, December 13, 2013

What to do with a coat that's a wonderful color but unwearable?

Start tearing it up before I even leave the store apparently! (I don't recommend this... I was going to buy it, don't just rip things in stores please).

I found this super cheap wool coat at work (at a thrift store that is). It caught my eye because it was a lovely plum color. I had some ideas for things that needed wool felt, so I figured this might be a good opportunity to try them out without spending a ton of money on wool.


I got too into this project and started ripping before taking a photo, hence the missing sleeve.

Usually I feel super bad ripping apart vintage things because I know they'll never be produced again. Repair and wear comes before destroying/recycling/reconstructing even. I get so sad seeing things that were in good shape destroyed because someone wanted to reconstruct them.
Anyways, in this case, I thought no one would ever buy and wear this coat because of the significant damage it had. You can kind of see in the photo that there was salt stains along the bottom, visible wear along the cuffs/bottom/shoulders, fading, the lining was torn in multiple places, and so on.

The above became this pretty quickly:


This then went straight into the washing machine and through a tumble dry cycle. Don't do that with your good wool coat. I didn't care what happened to this fabric, but I did need it to be cleaned thoroughly. If this washing caused the fabric to felt/shrink, it was a benefit to me because I wanted a thick sturdy felt. I also tested the wash out first on that sleeve I ripped off before taking photos, just in case the fabric disintegrated on me.

At this point, I was left with clean, soft, plum colored felt. I used the reverse side to avoid any discoloration that I might run into, and made two items to start.

The first is a cuff bracelet. It closes with two buttons and has three mobius strips that wrap around your wrist. This was one of the first times I used a rotary cutter. I caved and bought one for small projects like this. Maybe I'll feel better about making bows if I can cut them evenly too... maybe...


The second item is a phone/IPod case. Personally I like a case that attaches to my IPod, but I liked this idea and wanted to try it.


I almost never use the decorative stitches on my machine, so I thought I'd give that a try as well. It finishes off the edges, strengthens the seams, and gives some subtle decoration.

Sunday, December 8, 2013

These outfits make me want to ask people to follow me into the matrix

The fabric I used for these skirts is super cool. It's kind of finicky to sew sometimes because it sticks to itself and other smooth surfaces, but it moves so well as a circle skirt. If I could afford it I would have gotten every possible color, but I settled on these two.

It's a very simple pattern - just a circle and waistband (surprise, surprise). There's no zipper or elastic because the fabric is a strong enough spandex to support itself.


As you can see on the inside, there's really just a waist seam and one connecting the ends of the waistband together. I zigzagged the waistband on to preserve the fabric's stretch.


PS. This skirt along with many of the other items I've been posting lately are available in my shop.

Saturday, December 7, 2013

Fur hats - for when your hair isn't fluffy enough

Here are the other hats I cut out a couple weeks ago. These were more of a pain to make because of the fur.

The first one is a simple rectangle hat pattern (this is my favorite way to make a silly hat I think).


It's sort of a mini version of a hat I made for someone else that had 4 ears and angry eyebrows. These eyebrows aren't quite as expressive as I wanted, but oh well. I've also noticed when I make these hats out of fur they end up much smaller than expected. It's probably because the fur doesn't stretch like fleece does.

The other hat is an animal hood. I just barely had enough fabric to cut it out. Oops. I've been working out this pattern for a while now and am pretty satisfied with it at this point. The hanging side bits could have been a few inches shorter, but that's about it.


All of these hats are available on Etsy if anyone is interested.

Thursday, December 5, 2013

Show me your teeth

I had a sudden moment of inspiration/motivation a couple weeks ago during which I cut out a couple silly hats. This is the first two of those that I've had the motivation to edit photos for (that kind of motivation is currently more difficult to come by than the sewing kind).

A long time ago I made a zombie hat with teeth for one of my friends. I can't find the pictures of it anywhere even though I'm pretty sure I saw it when I was cutting these out. Hm. Anyways, I thought it was a pretty cool idea I haven't seen used much, so I wanted to try it again (and simplify the construction some). Here's the result, two styles of zombie hat:


This first one is much like the original design. It's made of 4 panels and a bottom band, lined with another layer of the same fleece, and has the teeth sewn between the layers. On the original hat, I made the teeth by sewing them right sides together then flipping, but this leads to extra bulk in the points. This time I did a tight zig-zag around the edges. It seems to work fairly well.


The second hat is pretty much the simplest hat pattern ever, but I like how it works with the monster details.


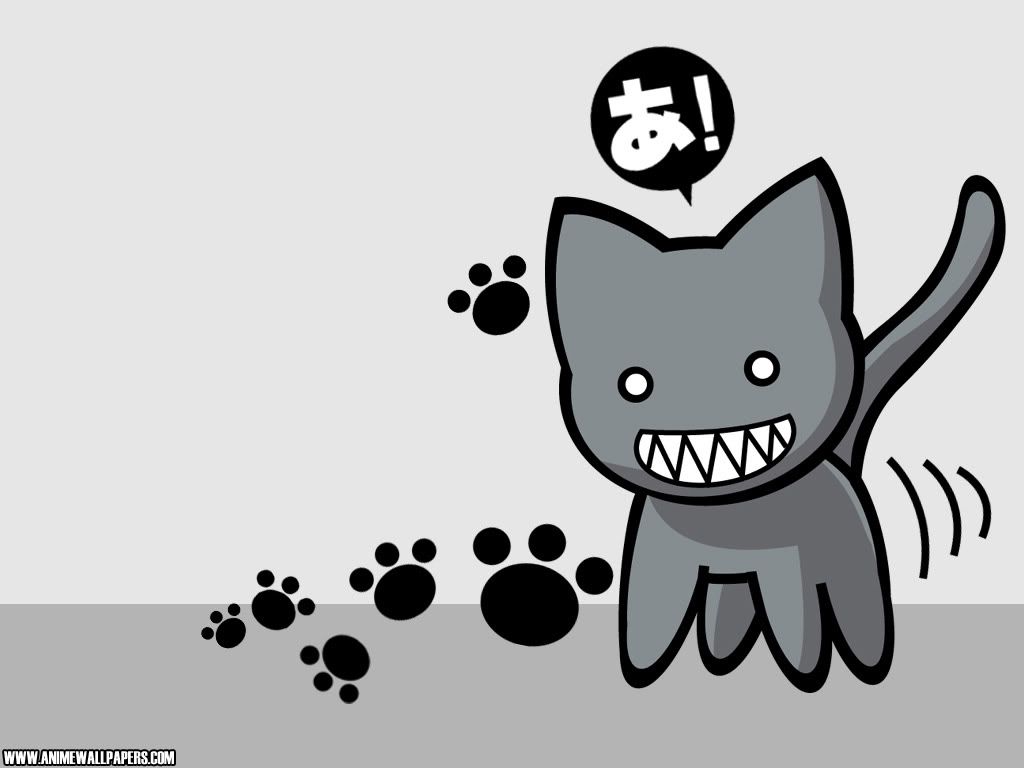
Instead of just lining it, I made it reversible. The other side reminds me of the biting cat from Azumanga Daioh:

 ...or just some generic monster. Again the teeth are just sewn between the inside/outside layers.